Admin UI Guide
The Admin UI provides a modern web interface for Trust Anchor administration. It’s built with Vue 3 and communicates with the Django Admin API.
Overview
The Admin UI allows administrators to:
View server status and regenerate entity configuration
Manage Trust Mark Types
Issue and revoke Trust Marks
Add and manage Subordinates with automatic configuration fetching
Screenshots
Login
The login page provides username/password authentication.
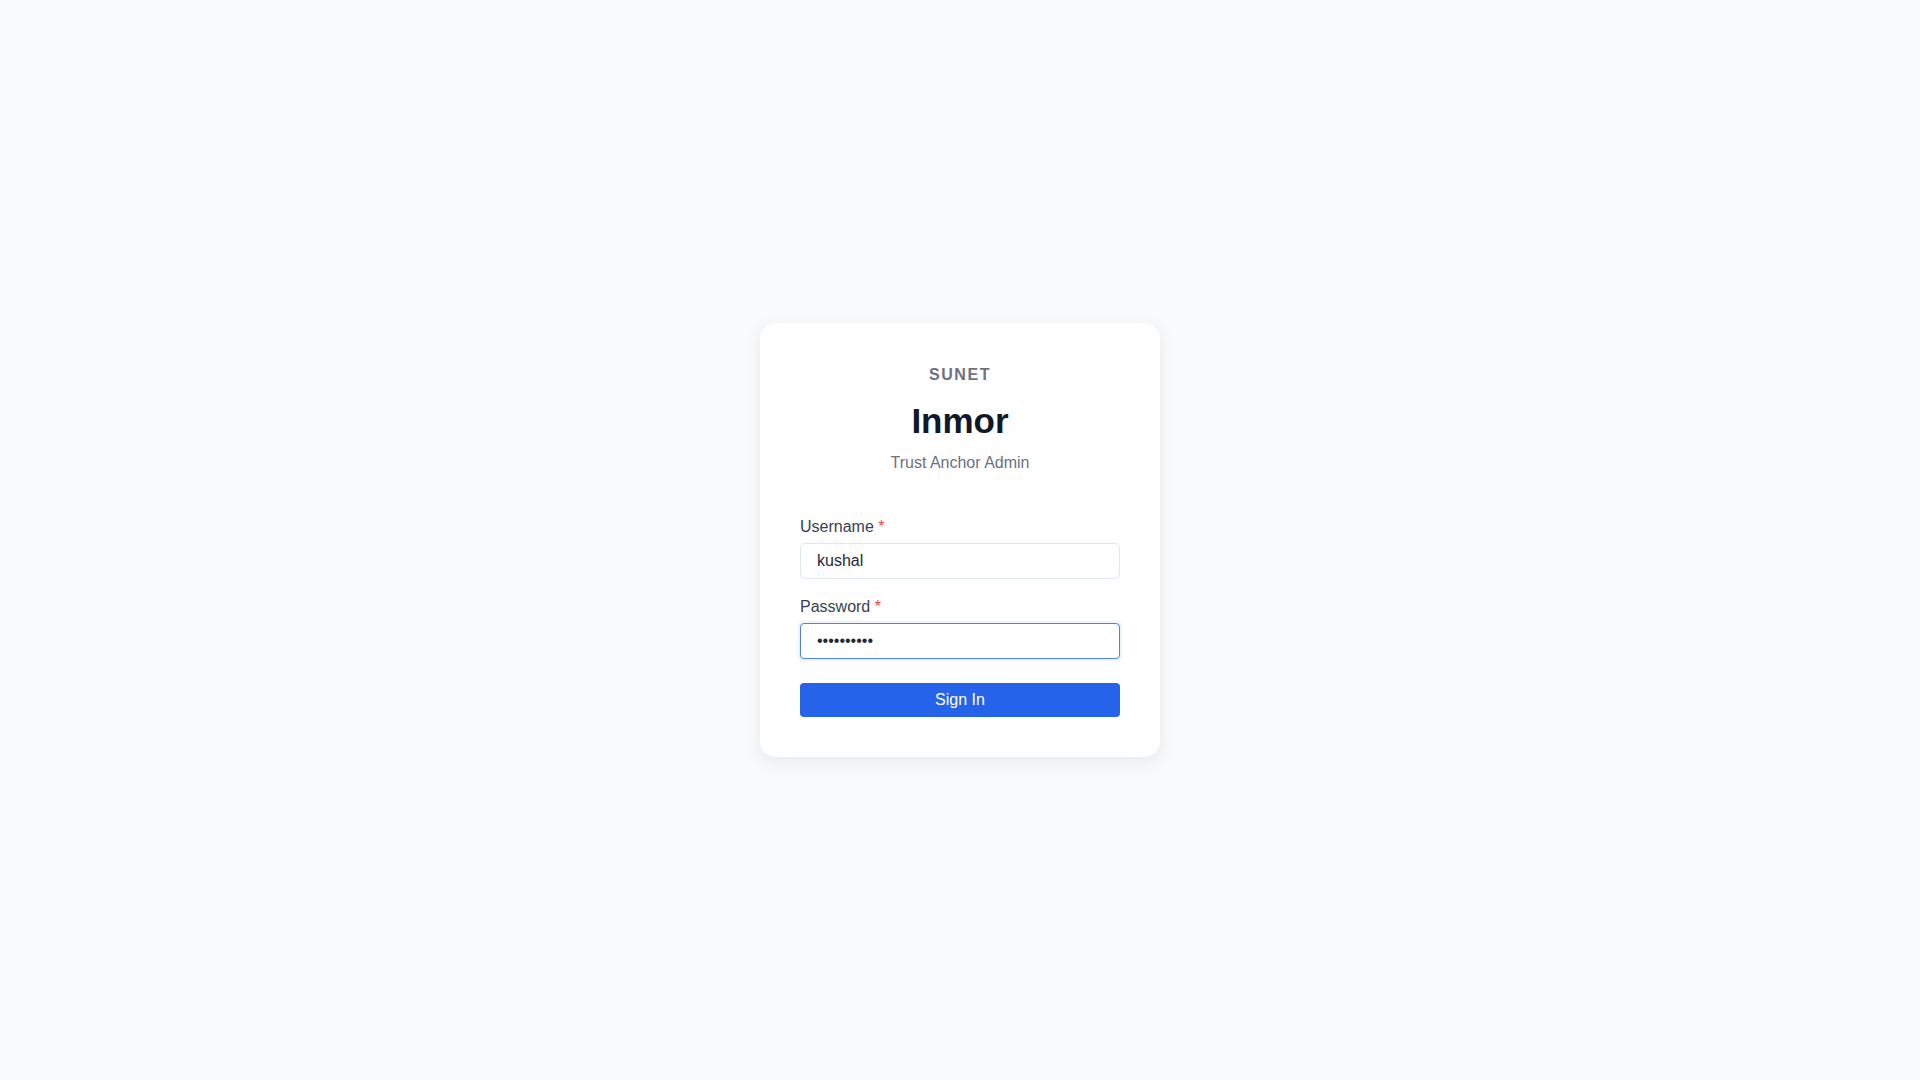
Admin UI Login Page
Dashboard
The dashboard shows the Trust Anchor status and provides quick access to regenerate the entity configuration.
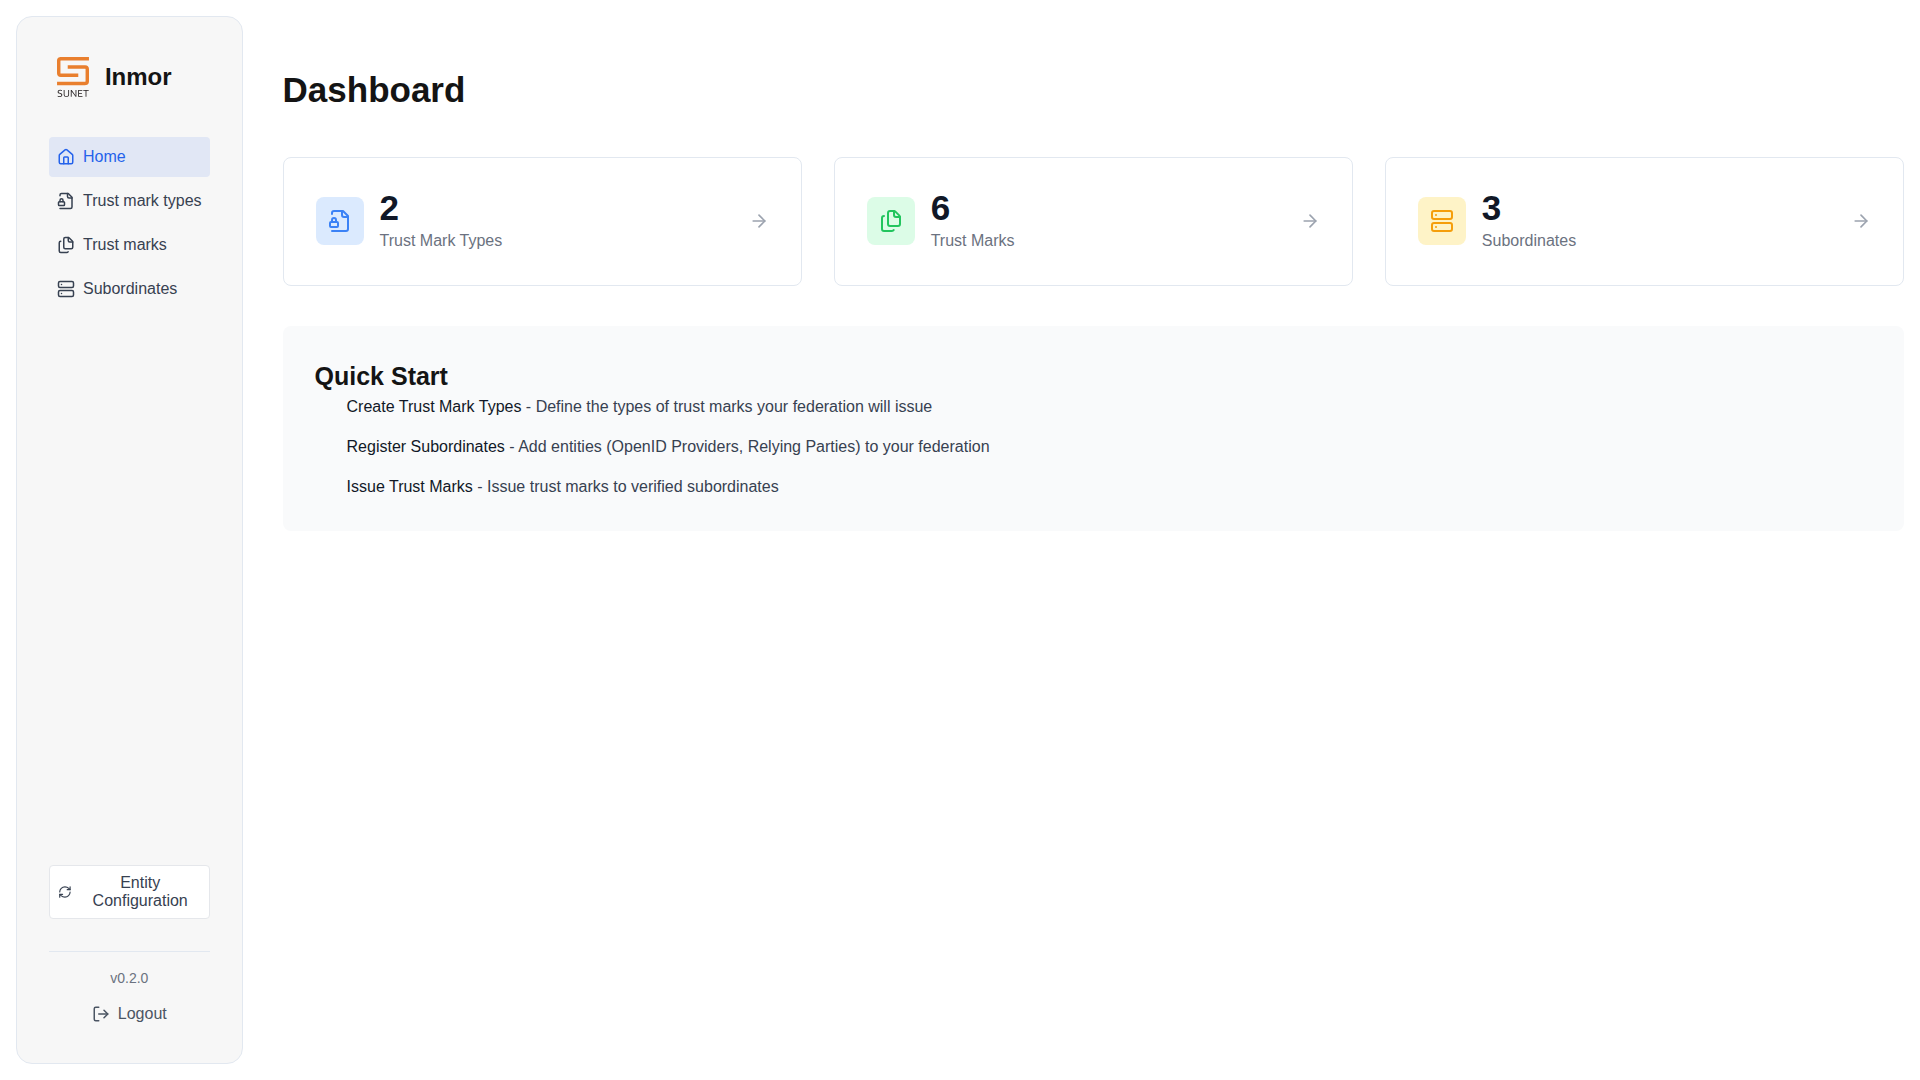
Dashboard with server status
Trust Mark Types
Manage Trust Mark Type definitions. Each type has a URL identifier, validity period, and auto-renewal settings.
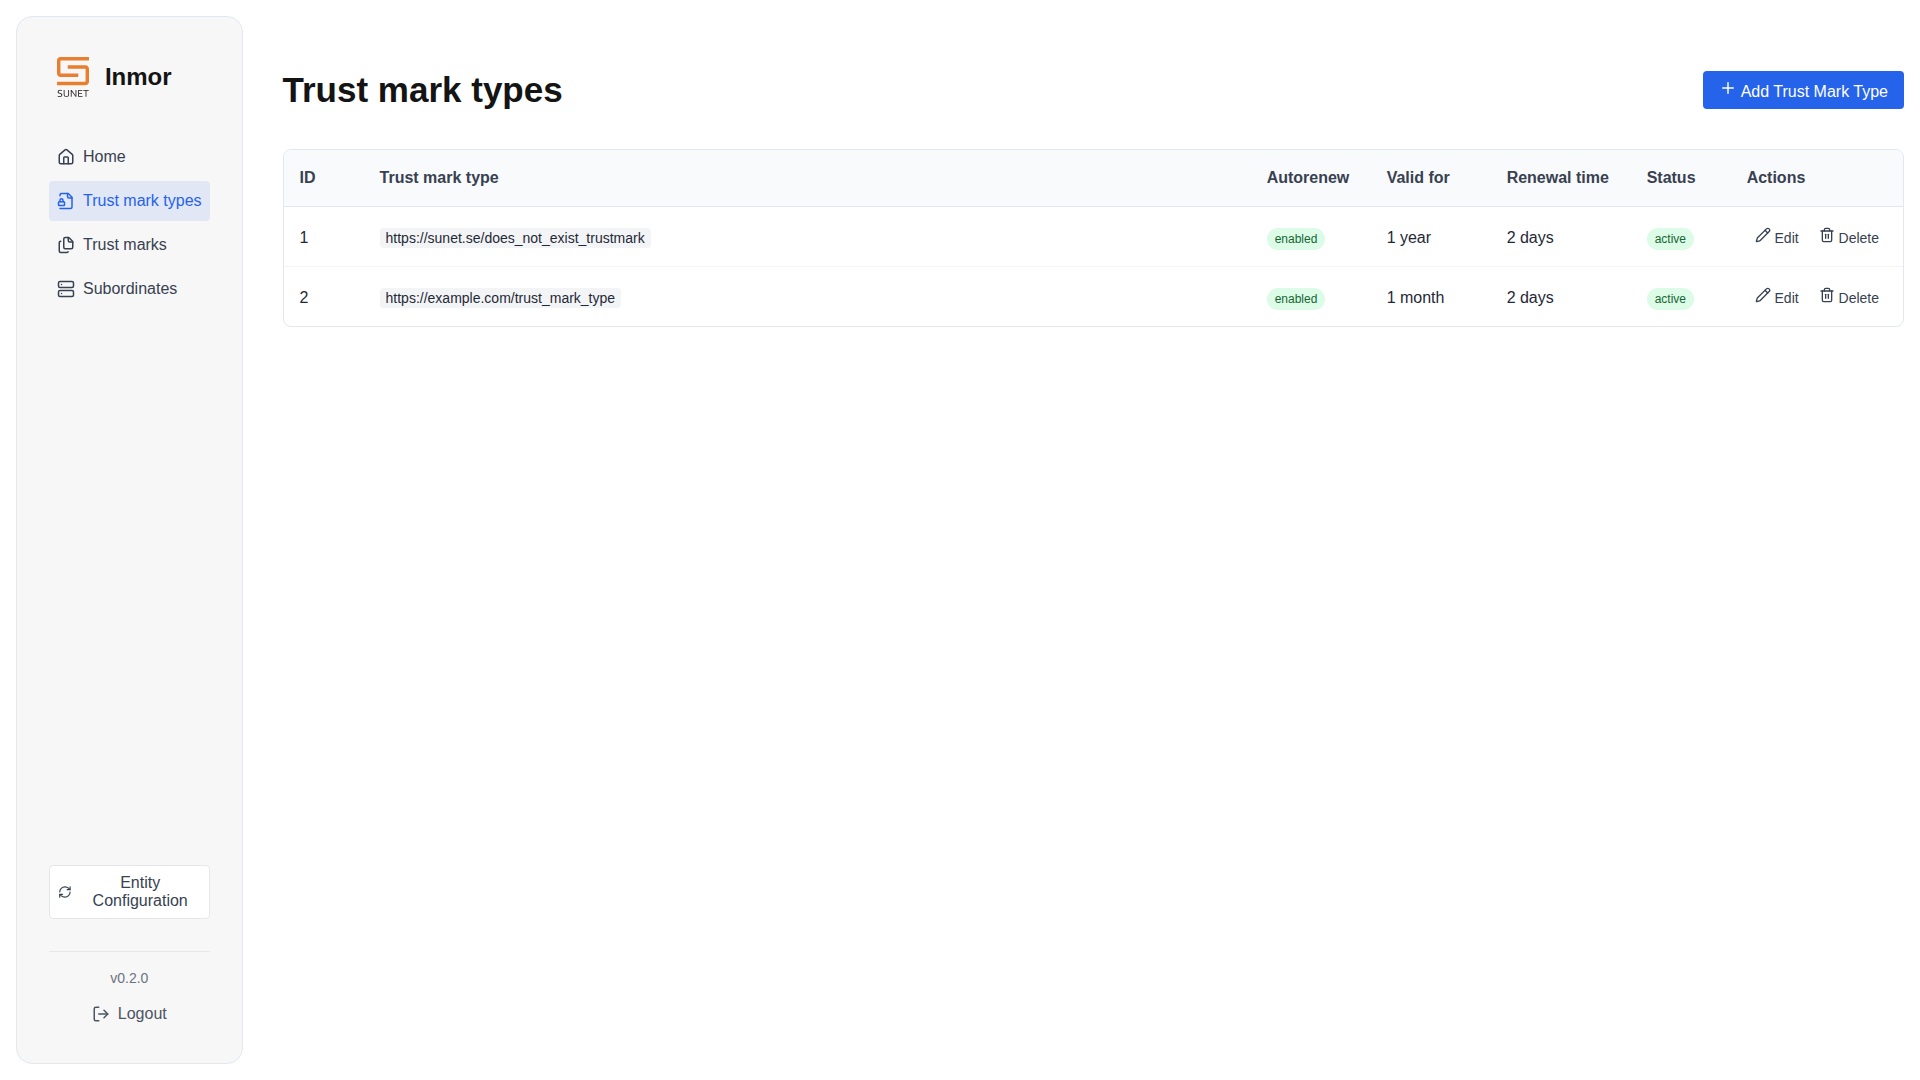
Trust Mark Types management
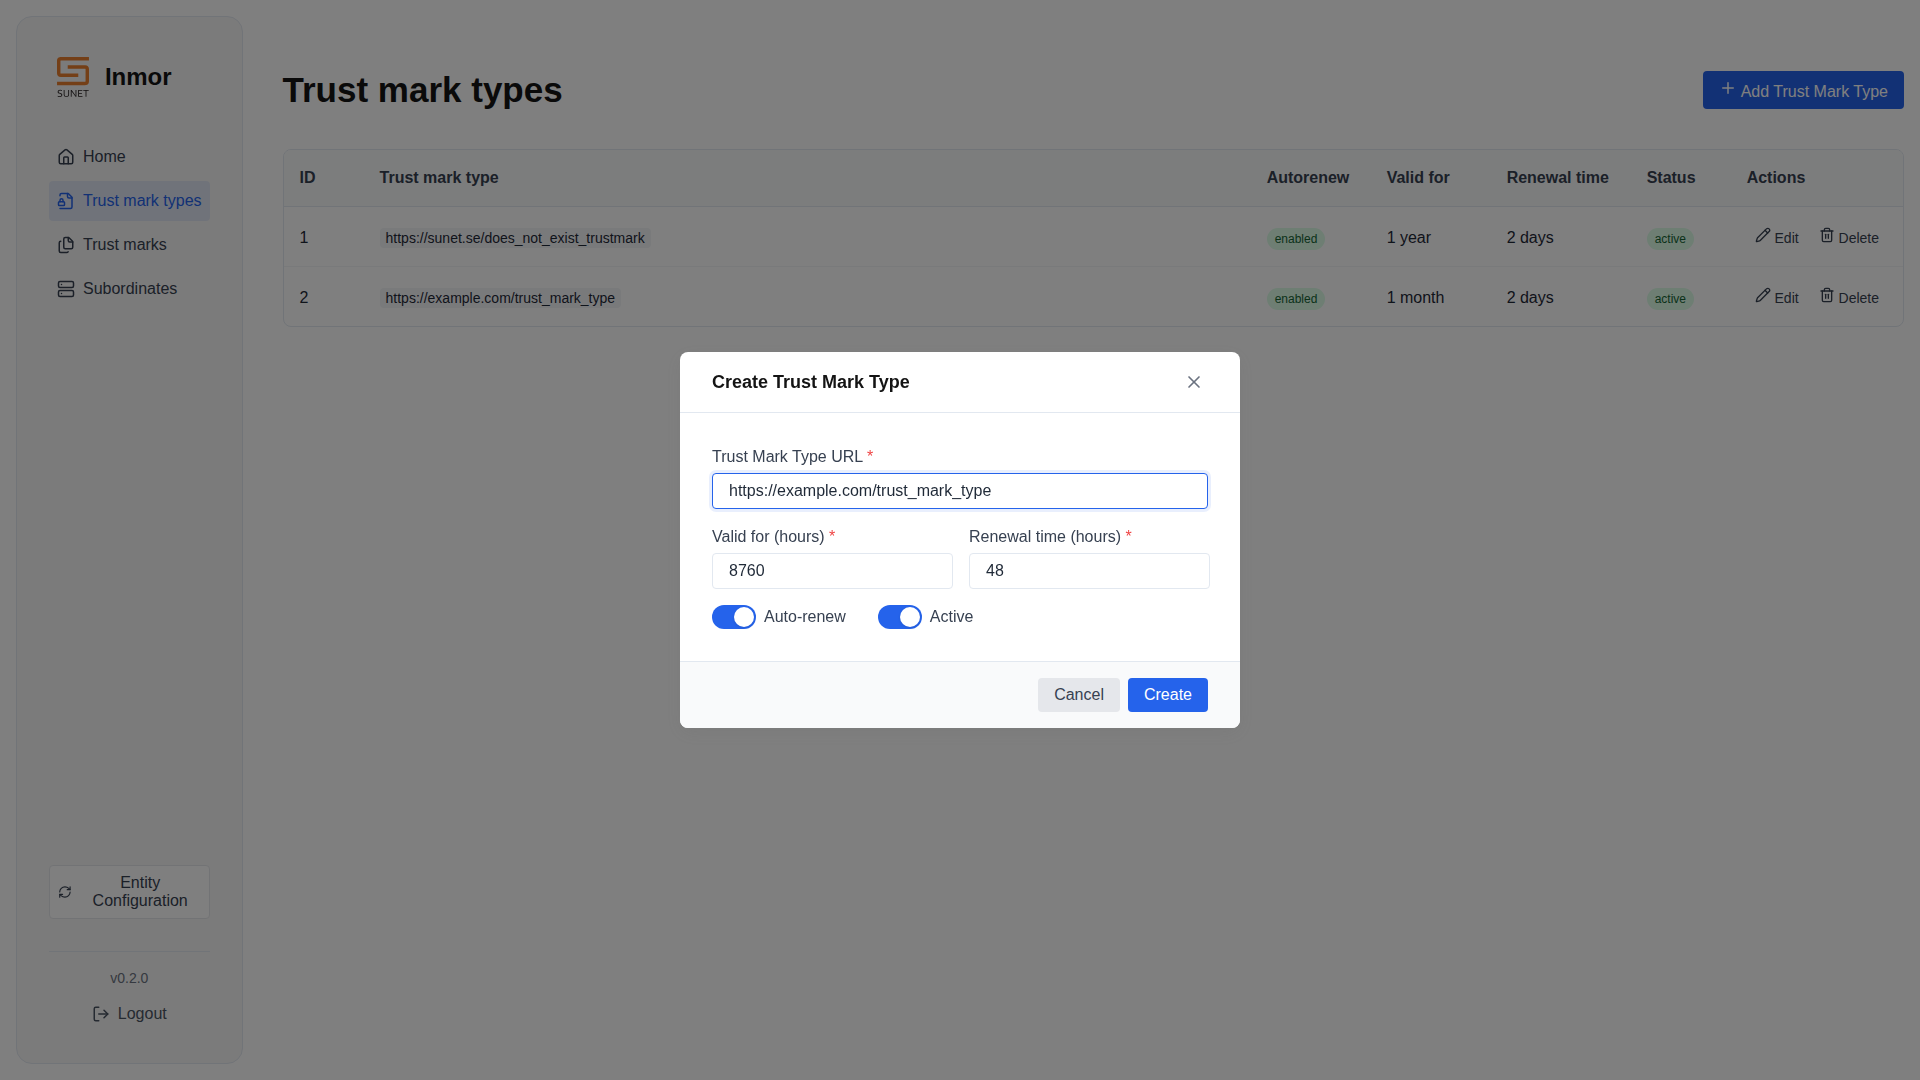
Creating a new Trust Mark Type
Trust Marks
Issue Trust Marks to entities. Select the Trust Mark Type and enter the entity’s domain.
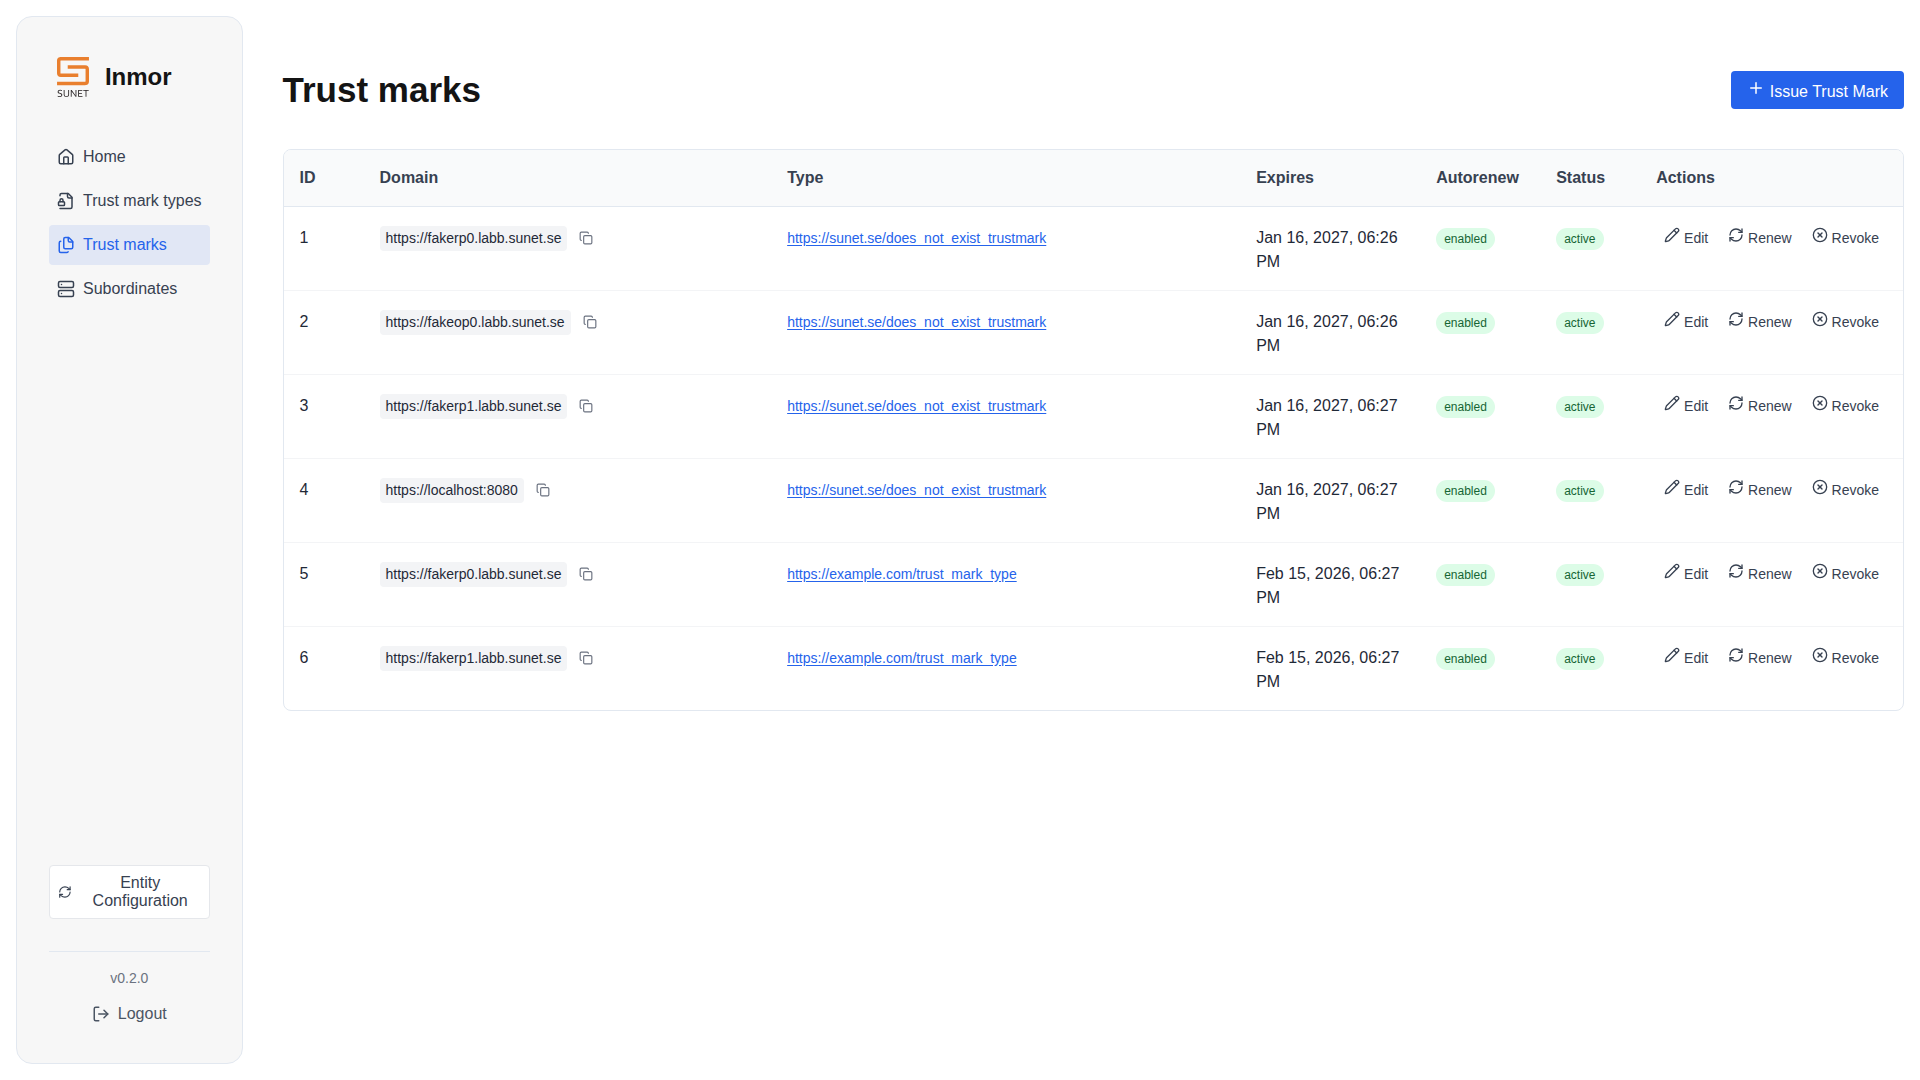
Trust Marks management
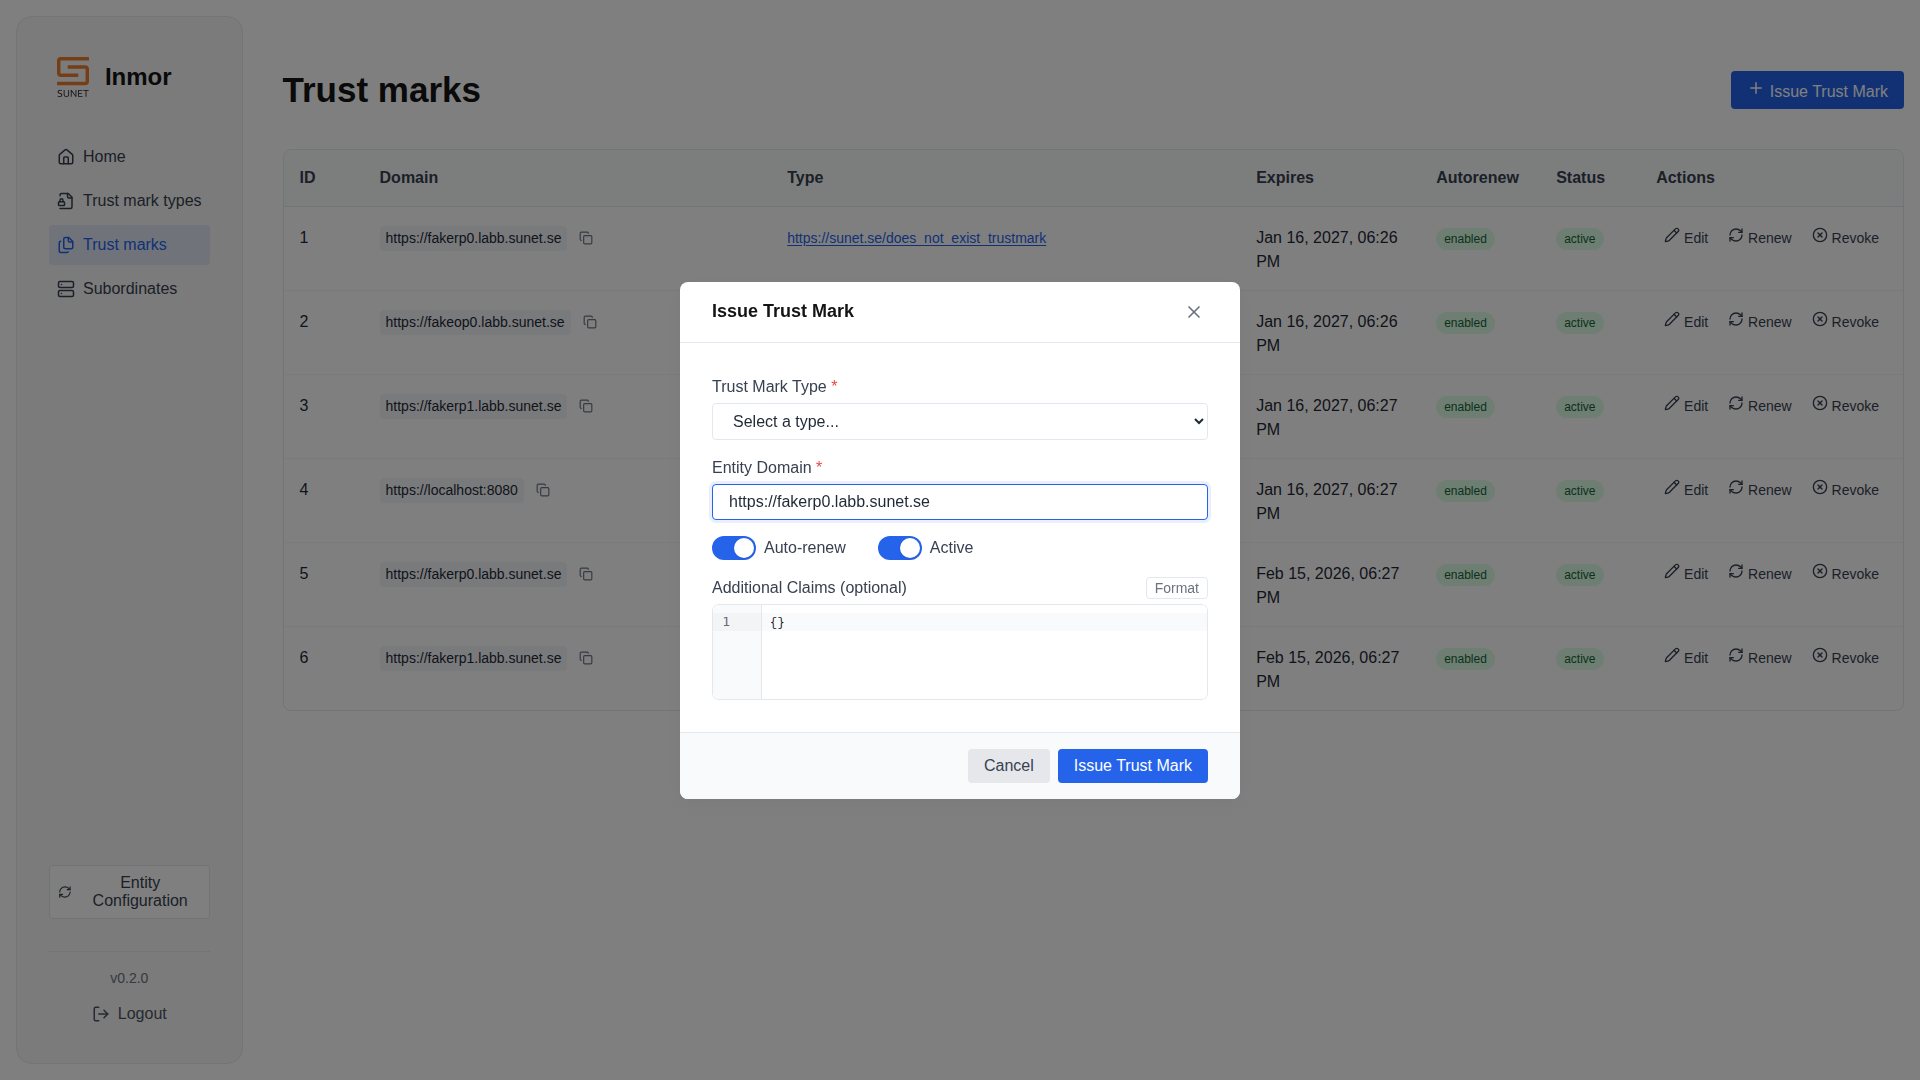
Issuing a Trust Mark to an entity
Subordinates
Add federation subordinates with automatic configuration fetching. The UI fetches the entity’s published configuration and validates it.
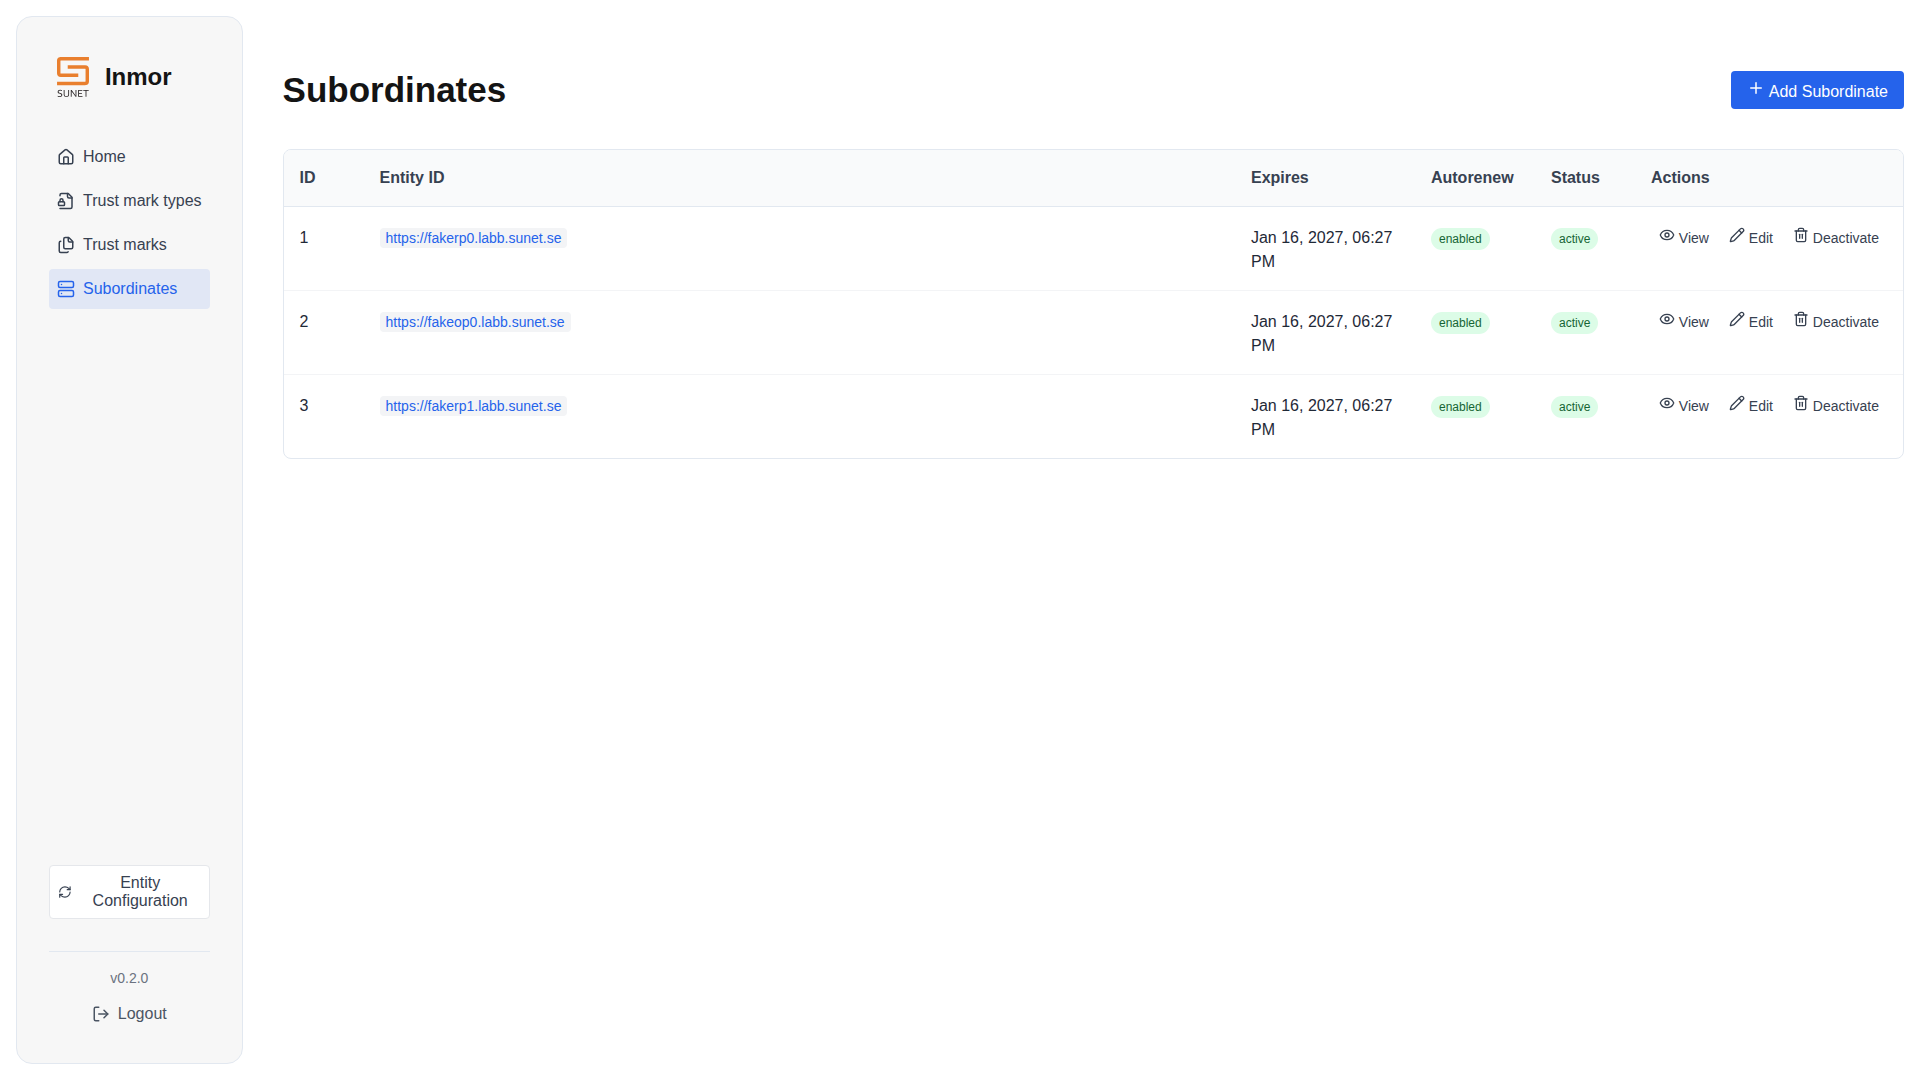
Subordinates management
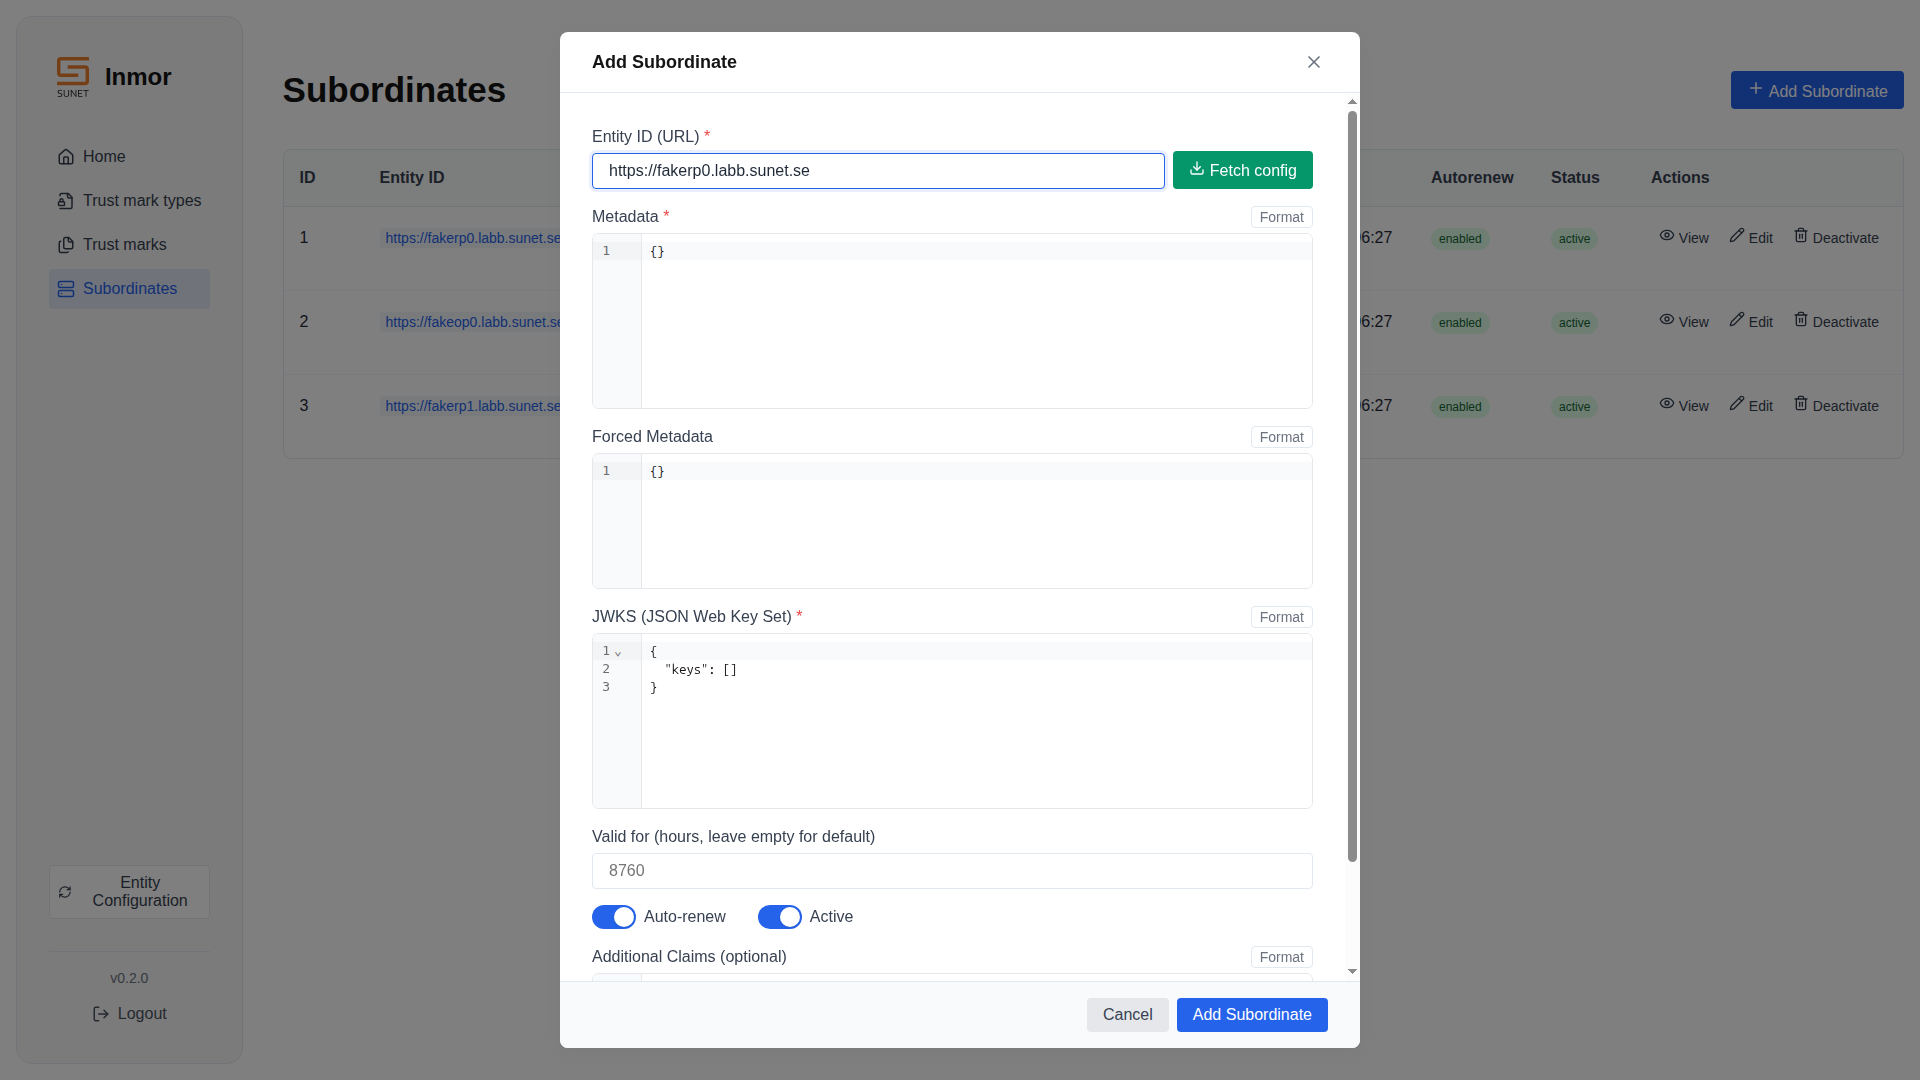
Adding a new subordinate with Fetch Config
Running the Frontend
Development Mode
For development, run the frontend separately from Docker:
# Start backend services
just up

# Start frontend dev server (from admin/frontend/)
cd admin/frontend
pnpm install
pnpm dev

# Or use the just command
just dev-frontend
The frontend will be available at http://localhost:5173.
Production Mode
For production, the frontend is built and served via nginx or the Docker frontend container:
# Build frontend
cd admin/frontend
pnpm build

# Or use Docker
just build
The Docker Compose setup includes a frontend container that serves the built assets on port 3000.
Authentication
The Admin UI uses session-based authentication with optional Multi-Factor Authentication (MFA) support.
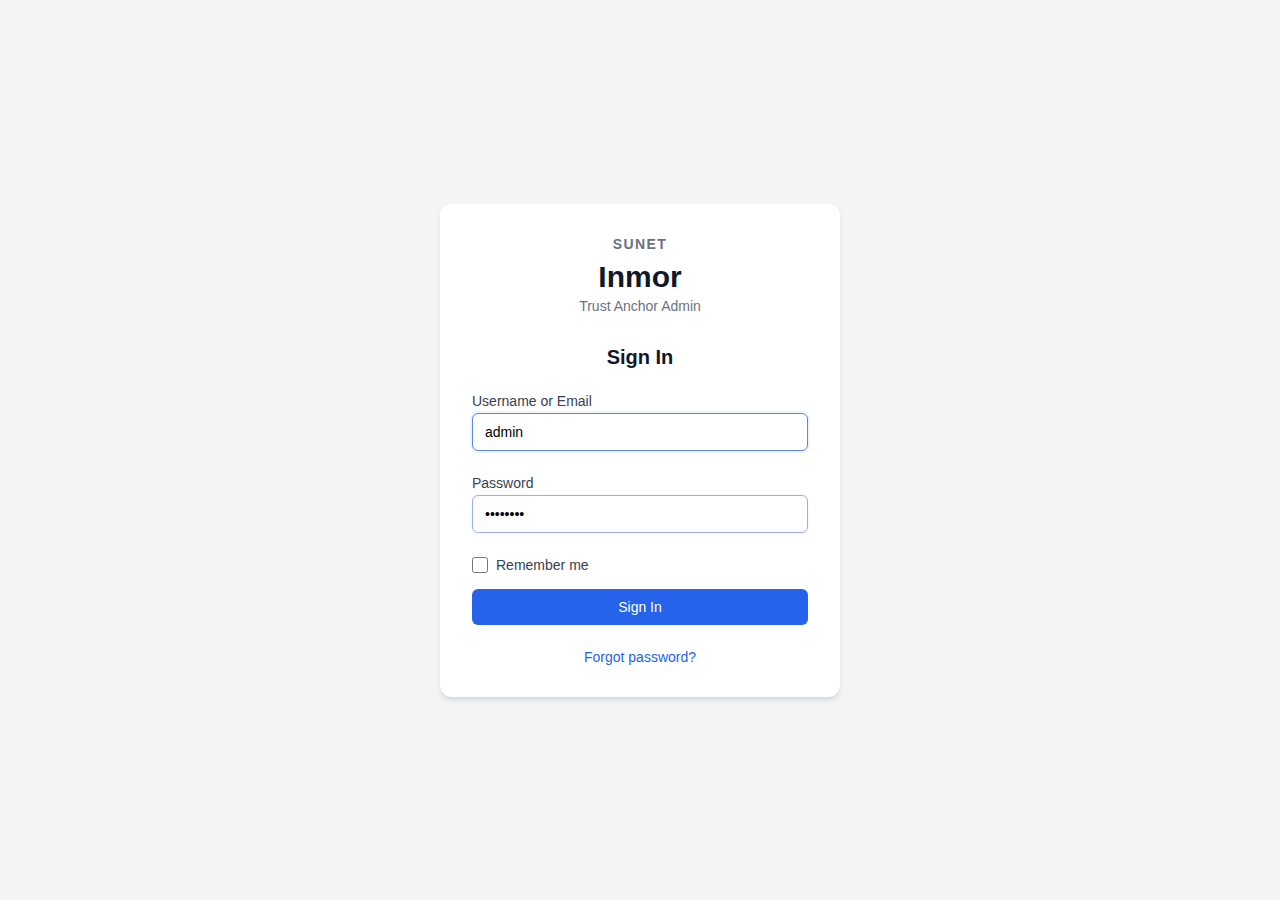
Styled login page with SUNET/Inmor branding
Authentication Flow
CSRF Token: On page load, the frontend fetches a CSRF token from
/api/auth/csrfLogin: Users authenticate via
/api/auth/loginwith username/passwordMFA Challenge: If MFA is enabled, user must provide second factor (TOTP code or security key)
Session: A session cookie is set for subsequent API requests
Auth Check: The router guard checks
/api/auth/mebefore each navigation to verify authentication
For detailed MFA configuration, see Multi-Factor Authentication (MFA).
Configuration
Vite Proxy
In development, Vite proxies API requests to the Django backend:
// vite.config.ts
server: {
  proxy: {
    '/api': {
      target: 'http://localhost:8000',
      changeOrigin: true,
    },
  },
}
Environment Variables
For production builds, set the API URL:
VITE_API_URL=https://admin.federation.example.com pnpm build
Tech Stack
The frontend is built with:
Vue 3 - Composition API with TypeScript
Vue Router - Client-side routing with authentication guards
Vite 7 - Build tool and development server
CodeMirror 6 - JSON editor with syntax validation
Lucide Vue - Icon library
Valibot - Schema validation
CSS Design System
The UI uses CSS custom properties for consistent theming:
/* Primary colors */
--ir--color--primary: #2563eb;
--ir--color--danger: #ef4444;
--ir--color--success: #22c55e;

/* Typography */
--ir--font-family: 'Cantarell', 'Roboto', sans-serif;

/* Spacing scale */
--ir--space--1: 4px;
--ir--space--2: 8px;
--ir--space--3: 16px;
--ir--space--4: 32px;
Recording Demo Videos
A Playwright script is provided to record demo videos:
# Prerequisites
pip install playwright
playwright install chromium

# Flush database and create admin user
docker compose exec admin python manage.py flush --no-input
docker compose exec redis redis-cli FLUSHALL
docker compose exec admin python manage.py createsuperuser

# Run the recording script
python scripts/record_demo.py
Videos are saved to the videos/ directory.
Taking Screenshots
For documentation screenshots:
python scripts/take_screenshots.py
Screenshots are saved to the screenshots/ directory.